
Rotary-Table Molding: Clarify the Process Sequence.
This explains a process built around a multi-station rotary table, rather than a third machine model. It focuses on the relationship between mold positioning, insert loading, injection and part removal.
Four Steps to Consider Together
These process topics help prepare a discussion. They do not mean the equipment always has four stations or that the same cycle sequence applies to every product.
- Positioning
- Clarify mold and part positions at each stage. Describe the existing mold structure, the area to be molded and any components that could affect positioning.
- Insert Loading
- For products with inserts, discuss when to load them, how to hold them in position and the clearance required. Products without inserts do not need this step.
- Injection Molding
- Match the area formed by each material to its injection requirements. Assess whether separate molding stages are needed and how they connect based on the materials and mold.
- Part Removal
- Consider where the molded part will be removed and whether inserts or geometry could obstruct handling. Record any areas requiring subsequent inspection in the product brief.
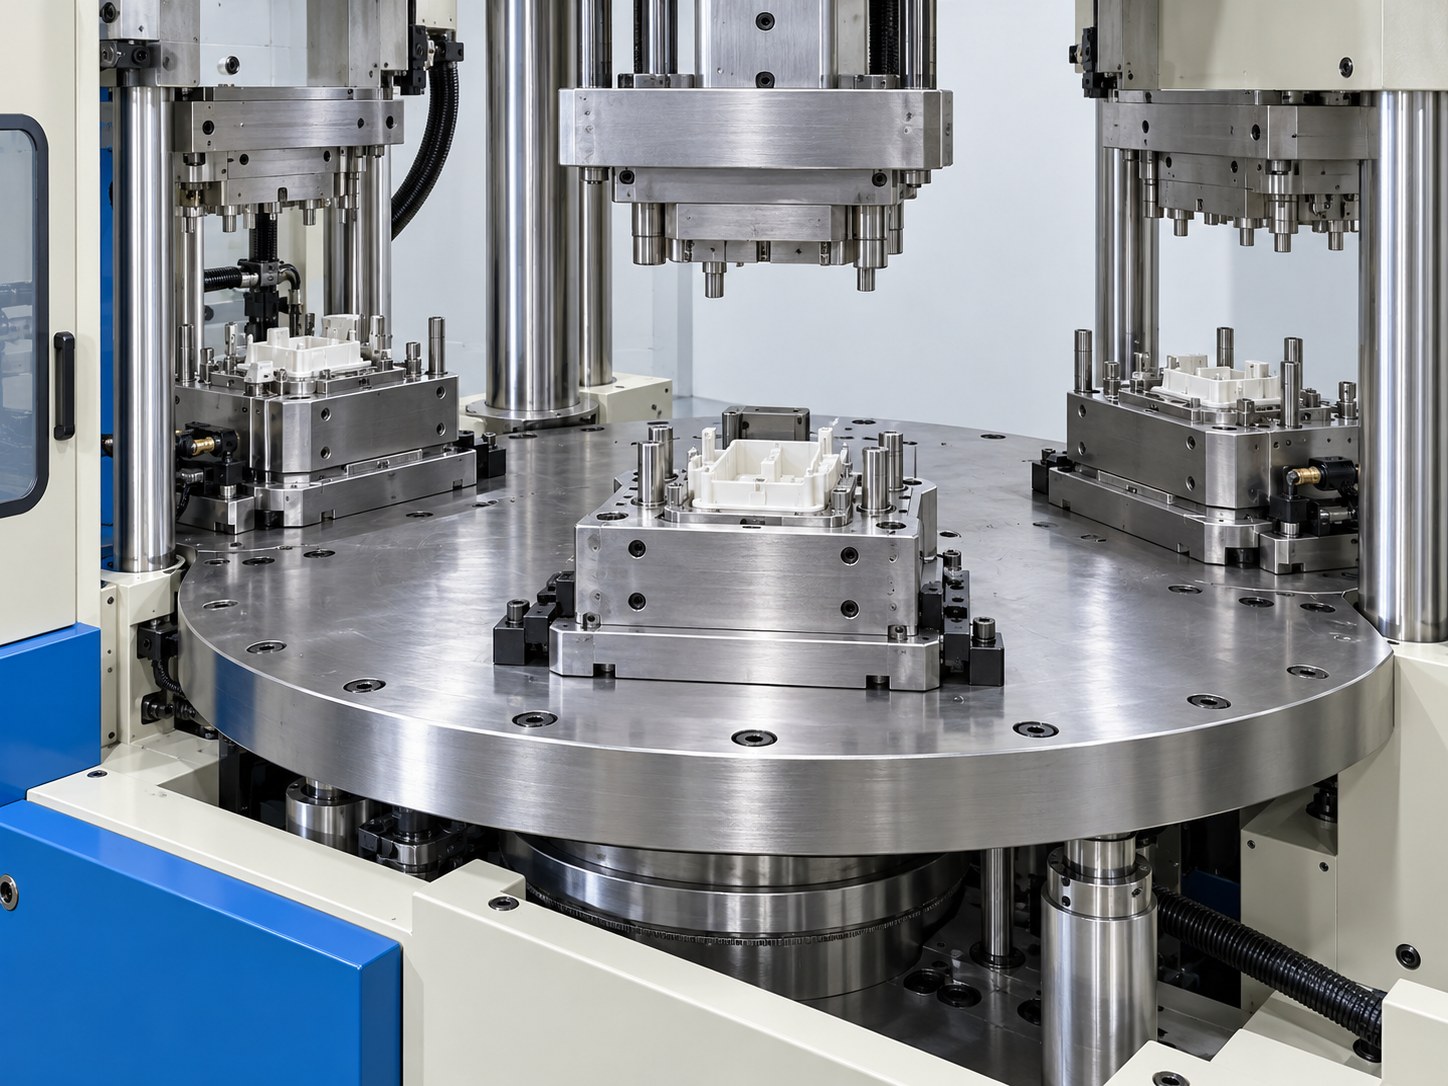
Start with a Process Sketch
Sketch the part at each stage and mark materials, inserts and loading and unloading positions. This makes actual requirements easier to discuss than specifying a station count first. Confirm the rotary-table structure, mold compatibility and machine combination once these details are clear.
If loading and unloading are difficult, positioning is unclear or process coordination needs review, describe the specific issue first without assuming an equipment configuration.
Prepare Rotary-Table Process Requirements